Most homeowners know their dirt floor crawl space isn’t exactly pleasant—or healthy. And here’s why that matters: up to 60% of the air in your home flows up from the crawl space, making it a major player in your home’s overall air quality and structural integrity.
Dirt crawl spaces tend to attract moisture, which can lead to poor air quality, pest issues, and even damage to your home’s structure. The solution? Crawl space encapsulation.
But what exactly does that involve? We’ve created this guide to walk you through the do’s and don’ts of crawl space encapsulation so that you’re equipped to protect your home.
Let’s start with some basics. A crawl space is the area beneath your home, typically located between the ground and the first floor. It ranges from one to three feet in height and provides room for essential systems like plumbing, electrical wiring, and HVAC.
If your home doesn’t have a full basement or slab foundation, chances are you have a crawl space. If you notice spot vents on the exterior of your home or a small access door, you most likely have a crawl space.
They’re designed for easy access to utilities for maintenance and repairs, while also helping to elevate your home above the ground and promote ventilation.
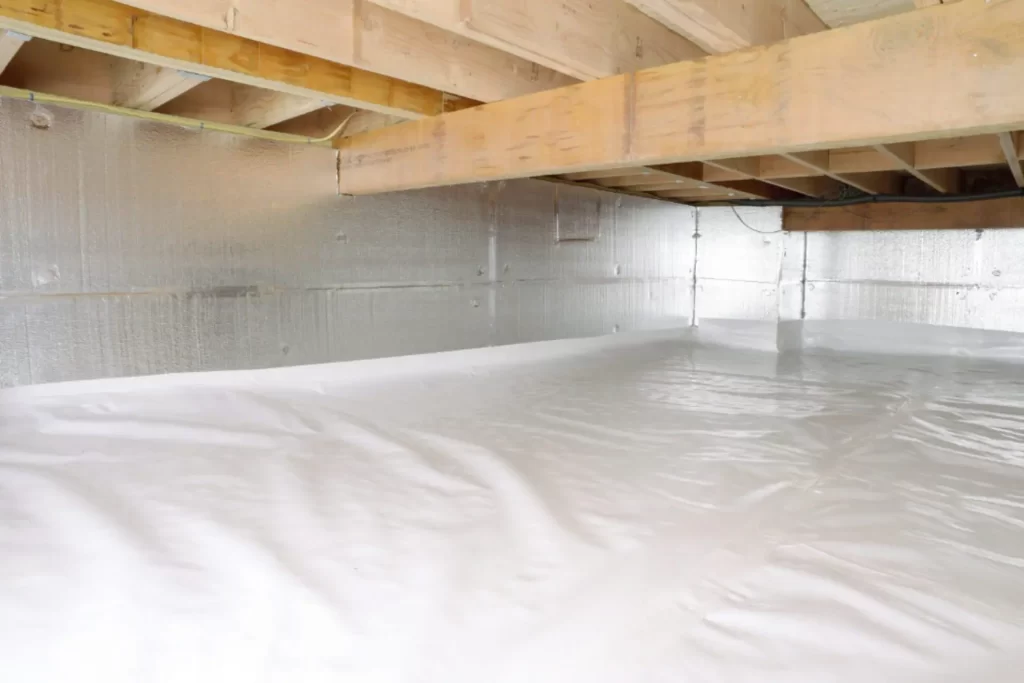
Crawl space encapsulation is the process of sealing your crawl space from the outside to protect your home. It involves installing thick, overlapping sheets of polyethylene plastic on the walls and covering the exposed dirt floors.
Since up to half of the air inside your home comes from the crawl space, keeping it dry and clean is essential for your home’s health, comfort, and safety.
In addition to sealing the crawl space, installing a vapor barrier is the most effective way to combat moisture levels which leads to mold, pests, and poor air quality.
The cost of crawl space encapsulation varies depending on the size and condition of the crawl space and the materials needed for the encapsulation. On average, Michigan homeowners can expect to pay between $5,000-$15,000.
Crawl space encapsulation includes the vapor barrier, dehumidifier, sealing of all vents, and repairs to the space. If the crawl space is large or older and more damaged, you can likely expect more extensive work like mold remediation and foundation repairs.
While the cost of crawl space encapsulation might seem high, the outcome is well worth the investment. You’re investing in:
Encapsulating your crawl space helps maintain consistent temperatures and humidity levels, preventing dampness in the summer and cold floors in the winter.
Unsealed, vented crawl spaces can negatively affect the air in both the crawl space and the rooms above it. Encapsulation eliminates moisture and contaminants, improving the quality of the air you breathe every day.
Homes with a sealed crawl space can reduce energy costs and usage by an average of 20%. With less heat loss and improved insulation, you’ll save on heating and cooling costs.
When your crawl space is sealed with a vapor barrier you can store items without worrying about moisture, mold, or pests damaging them.
Encapsulating your crawl space helps prevent pests like termites and rodents from entering your home.
If you’re ready to start the process of adding a vapor barrier your crawl space, here are some common mistakes to avoid.
It might feel counterintuitive that your crawl space needs to be ventilated—after all, aren’t you sealing the crawl space off? Yes, but in order to prevent moisture buildup you need to have proper ventilation. You’ll want to get a dehumidifier to help with this.
You can’t use any run-of-the-mill materials for crawl space encapsulation. Don’t use spray foam insulation (trust us, it just traps moisture, encourages mold growth, and requires expensive repairs). You’ll want to use specialty vapor barriers, dehumidifiers, and insulation boards instead.
Your crawl space is the perfect, cozy, predator-free space for little rodents and insects to seek shelter. Make sure you don’t skip the pest control step by having an exterminator come out and seal off any entrances pests might use to enter the space.
Moisture is enemy number one in your crawl space. If your crawl space already has signs of moisture, they won’t fix themselves. Proper encapsulation gets to the source of the moisture and prevents it from happening again.
If there are significant air gaps throughout the space, encapsulation won’t work. Make sure you invest in repairs, seals, and structural updates to get the most out of your crawl space encapsulation.
Encapsulation doesn’t prevent flooding or water entry under your home. Remember to install a drainage system so that water is directed away from the crawl space.
Fiberglass insulation might seem like a cool thing to do, but it actually absorbs moisture and can lead to mold growth and poor air quality. You’ll need to select foam board insulation to avoid the saggy, water-prone effects of fiberglass insulation.
While DIY encapsulation may seem tempting, it’s a complex process that requires expertise. Professional installation ensures that all aspects of the encapsulation are done correctly, from moisture control to ventilation and sealing.
Hire a professional crawl space encapsulation service to save you time and prevent costly mistakes in the long run.
Now that you know what not to do, let’s get into what you should do.
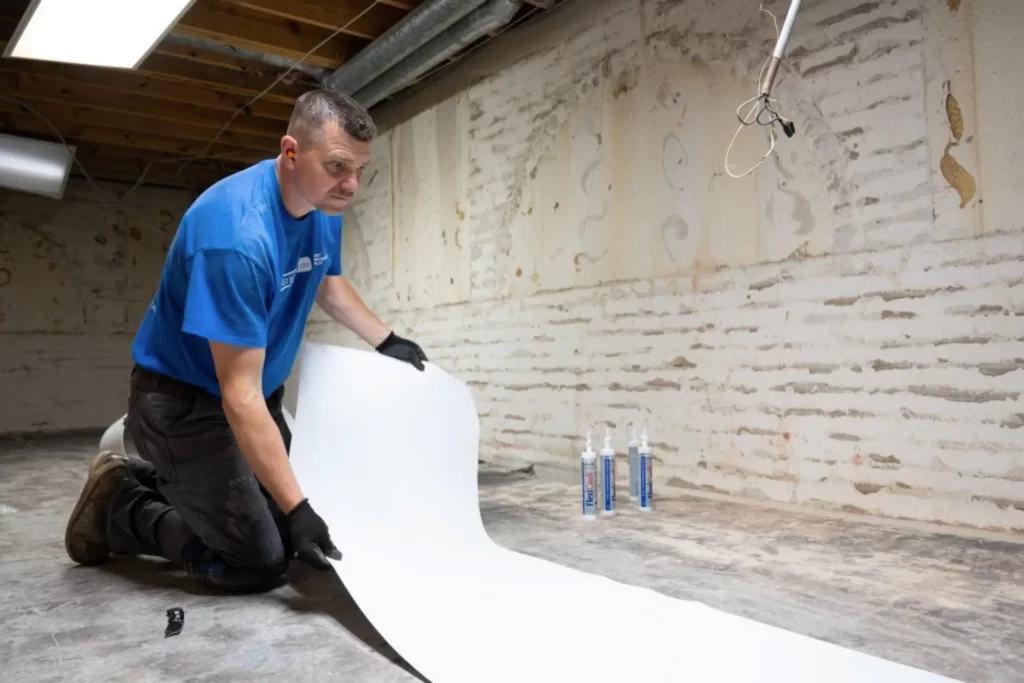
Before your encapsulation project is slated to begin, clean any mold from crawl space walls, do a safety inspection, and make any structural repairs.
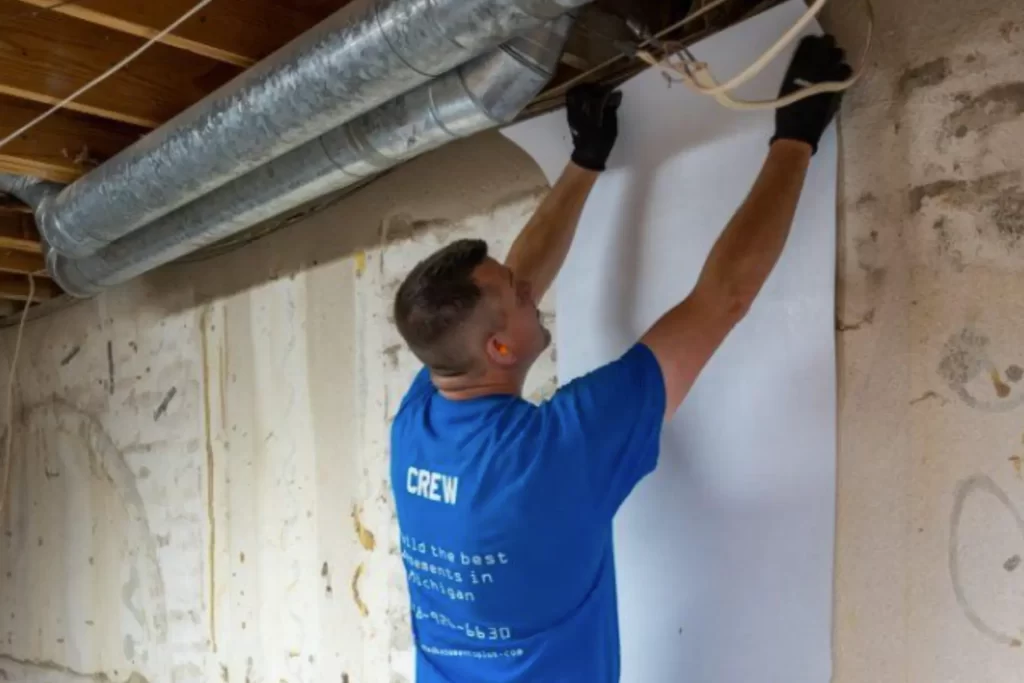
You’ll want to seal off any openings in the crawl space to prevent moisture, pests, and insects from entering the space. This includes things like crawl space vents, pipes, floors, walls, siding, and cracks.
You want to choose durable, moisture-resistant, and mold-resistant materials to get the optimal results.
Install a sump pump or drainage system to help remove water intrusion and prevent water damage.
There’s a lot that goes into crawl space encapsulation, so instead of wondering if you’re doing it right, or hiring multiple contractors for the various steps, put yourself in the best hands and hire a crawl space encapsulation expert, like Finished Basements Plus.
Yes, encapsulating your crawl space is a great idea if you’re looking to protect your home from moisture, mold, and pests. It helps improve air quality, boosts energy efficiency, and prevents structural damage caused by excess moisture.
The average cost to encapsulate a crawl space ranges from $5,000 to $15,000, depending on the size of the space, the materials used, and the complexity of the job. Factors like the need for additional drainage or moisture control systems can also impact the overall cost.
A sealed crawl space typically involves closing vents and sealing cracks to reduce moisture entry. Encapsulation, however, goes a step further by installing a vapor barrier, dehumidifiers, and sometimes drainage systems to completely control moisture and improve the environment beneath your home.
Yes, crawl space encapsulation can help stop mold growth. By sealing out moisture and controlling humidity, it creates an environment that’s much less conducive to mold.

Finish Now & Pay Later! (cannot be combined with any other offers)
Limited time offer – Enjoy your lower level without the stress of paying right away.